WHAT WE DO
3D Scanning
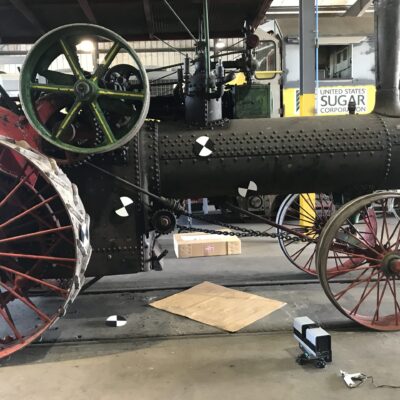
Tried and True Metrology team has successfully scanned several components/spaces and are fully prepared for your scanning needs.
Utilizing 3D scanners such as the Surphaser, Z+F, or Faro Focus, the Tried and True team will scan your part with accurate/quality data. A 3D model can be derived from the data, whether design-intent or as-found.

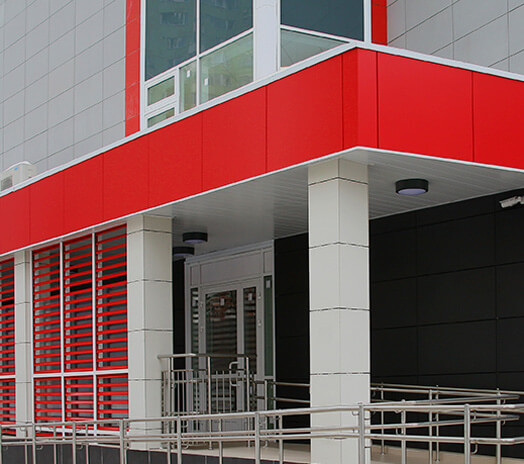
From the initial scan to the final CAD model, you can trust us with your scanning/modeling needs. Below are a few examples of scans we do:
HOW WE WORK
You can trust Tried and True Metrology with your measurement needs. See below for our work process.
1
PLANNING
Thorough planning and reviewing of the drawing/model to determine measurement process.
2
EXECUTION
Arrive on-site and execute the job with the highest safety and quality standard.
3
REPORTING
Providing a clear-cut and concise report providing the data achieved during the execution.
